


How To Use Brush-On Fabric Paint for Paint Pouring
Wondering how to do the paint pouring technique with Fabric Paint? Check out this easy step-by-step paint pouring tutorial using Tulip Fabric Paint!

What you need:
Tulip Brush-On Fabric Paints in desired colors
- Canvas pouches
- Painter’s tape
- Cardboard
- Disposable plastic cups
- Plastic bag
- Cardboard box or plastic bin you can rinse out
- White glue
- Stir stick

Step 1
For this paint pouring tutorial, you’ll want to prep your pouch (or other fabric item) by first cutting a piece of cardboard to fit inside to help create a taught, stable surface. Cover the cardboard piece in plastic, smoothing it out as much as possible, then place into the pouch/fabric. Tape off any areas you don’t want covered in paint, like the zipper of the pouch.

Step 2
In a disposable plastic cup, mix 1 part white glue with 1 part water.

Step 3
Now we’re going to learn how to use fabric paint for paint pouring! Pour some of each fabric paint color into its own disposable plastic cup. Next add the glue/water mixture into each and stir thoroughly to mix. Your mixing ratio is 1 part glue/water mix to 4 parts fabric paint. You’ll want your mixture to be pourable but not too runny. Test and add more glue/water mix if needed.

Step 4
In another plastic cup, pour one color of fabric paint mix, then pour another color mix over the top. Keep alternating colors to form a bullseye effect like shown.

Step 5
Working over a cardboard box or bin you can clean out if you spill, place your stretched, taped off pouch on top of the cup of fabric paint containing all of the colors. Holding each together tightly, flip over so the cup is now on top of the pouch. Hold things this way for a few seconds to let the paint start flowing down towards the pouch.

Step 6
Lift the cup up and watch all of that beautiful fabric paint flow!

Step 7
Tilt and rotate the pouch, allowing the fabric paints to flow over it in order to coat the entire pouch. Tip from Handmade Charlotte: If you can’t get the mixture to cover some of the areas of the pouch, don’t stress! Simply pour any leftover paints from the original cups onto the pouch, or any paint remaining in the cup of mixed paints, onto those exposed spots. You don’t want to rotate the pouch around too much so your paints keep a nice pattern and don’t blend a ton and become muddy.

Step 8
Once your pouch is covered with fabric paint, set it down to dry for at least 24 hours.

Step 9
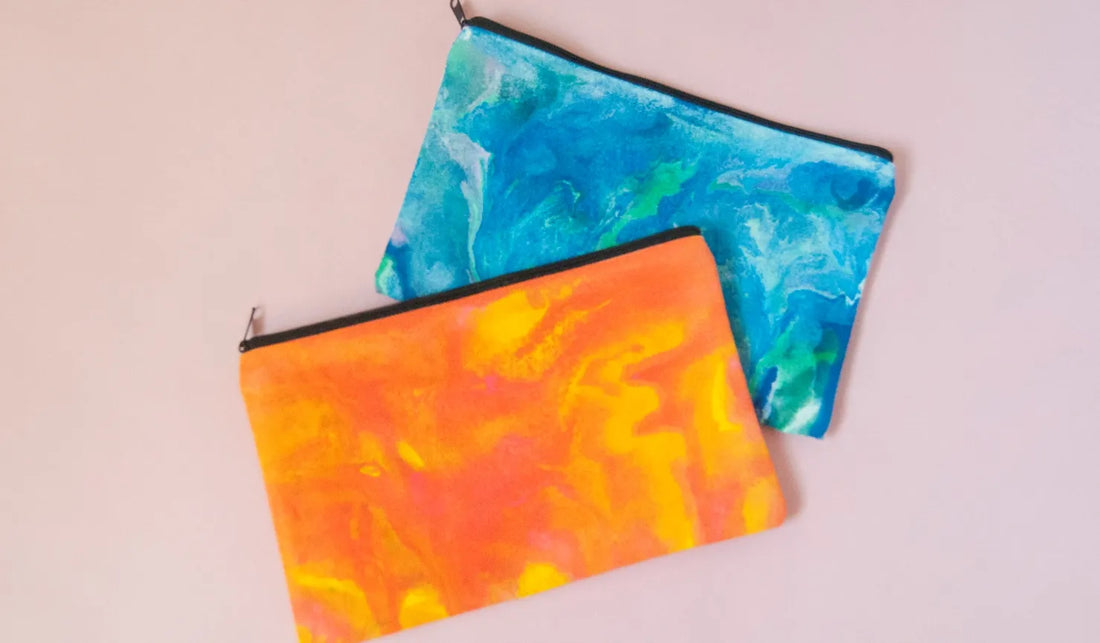
Wasn’t that an easy paint pouring tutorial? Look how bright and fun these pouches turned out! Now they’re ready to take with you on errands, school or work, trips and other adventures.

Step 10
Now that you know how to use fabric paint for paint pouring, what else will you create with this technique? Tag us on social @tulipcolorcrafts and share your creations with us!