


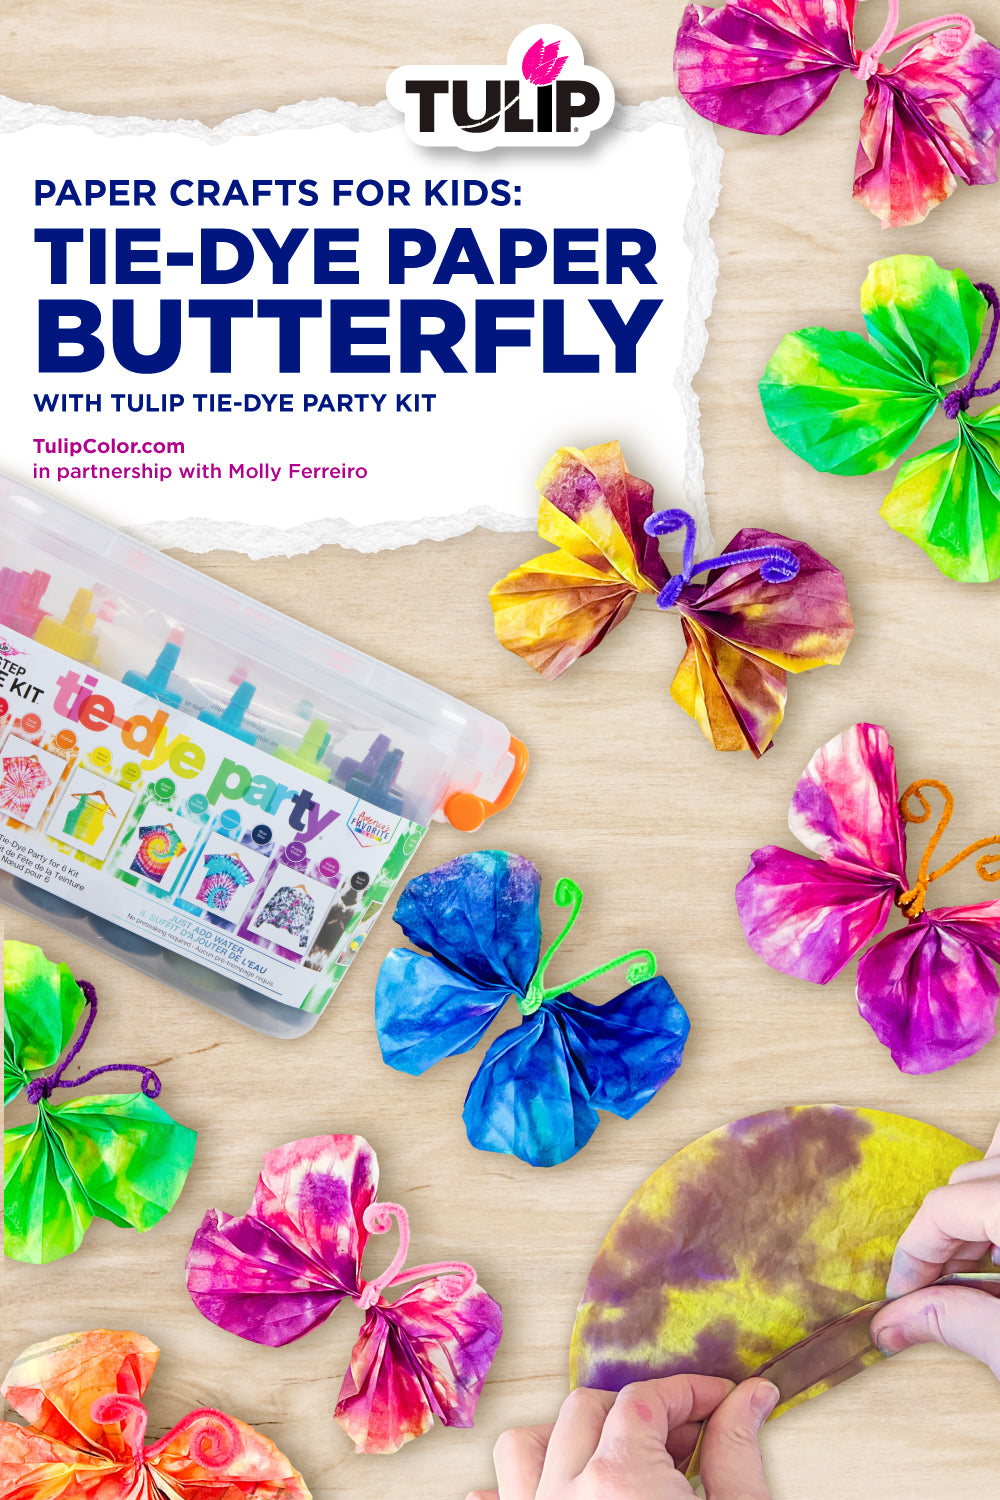
Crafts for Kids: Tie-Dye Paper Butterflies
- $24.74
$32.99- $24.74
- Unit price
- per
Looking for a simple yet creative paper craft that you can create with your little ones? Try making tie-dye paper butterflies with materials you already have around the house! This colorful paper craft for kids combines the simplicity of paper crafts with the vibrancy of tie dye. Check out this tutorial from Molly Ferreiro and learn how to make mesmerizing paper butterflies with coffee filters, chenille stems, and the Tulip Tie-Dye Party Kit!
Supplies Needed:
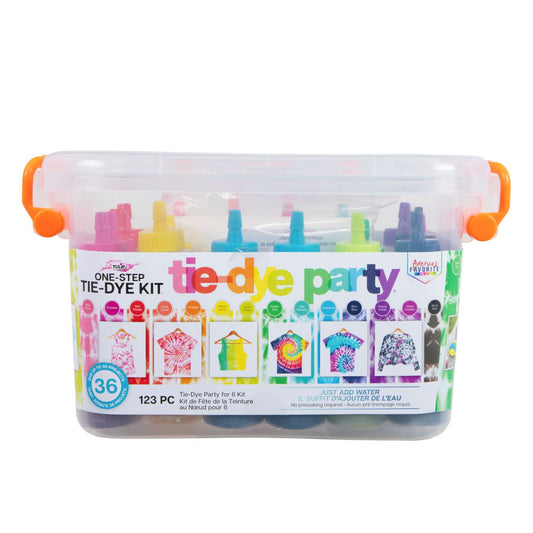
Tulip Tie-Dye Party Kit
Paper coffee filters
Chenille stems
Wire rack + sheet tray
Scissors
Step 1 Prepare your work station

Cover your workstation with a protective surface cover (included in the Tulip Tie-Dye Party Kit) and prepare the tie-dye solutions by adding water to the dye bottles, filling to the neck. Replace the cap tightly and shake well until dye powder is fully dissolved. Place two paper coffee filters flat on top of a wire rack over a sheet tray to catch excess dye. The coffee filters will be the wings for your paper butterfly!
Step 2 Apply dye to paper butterfly
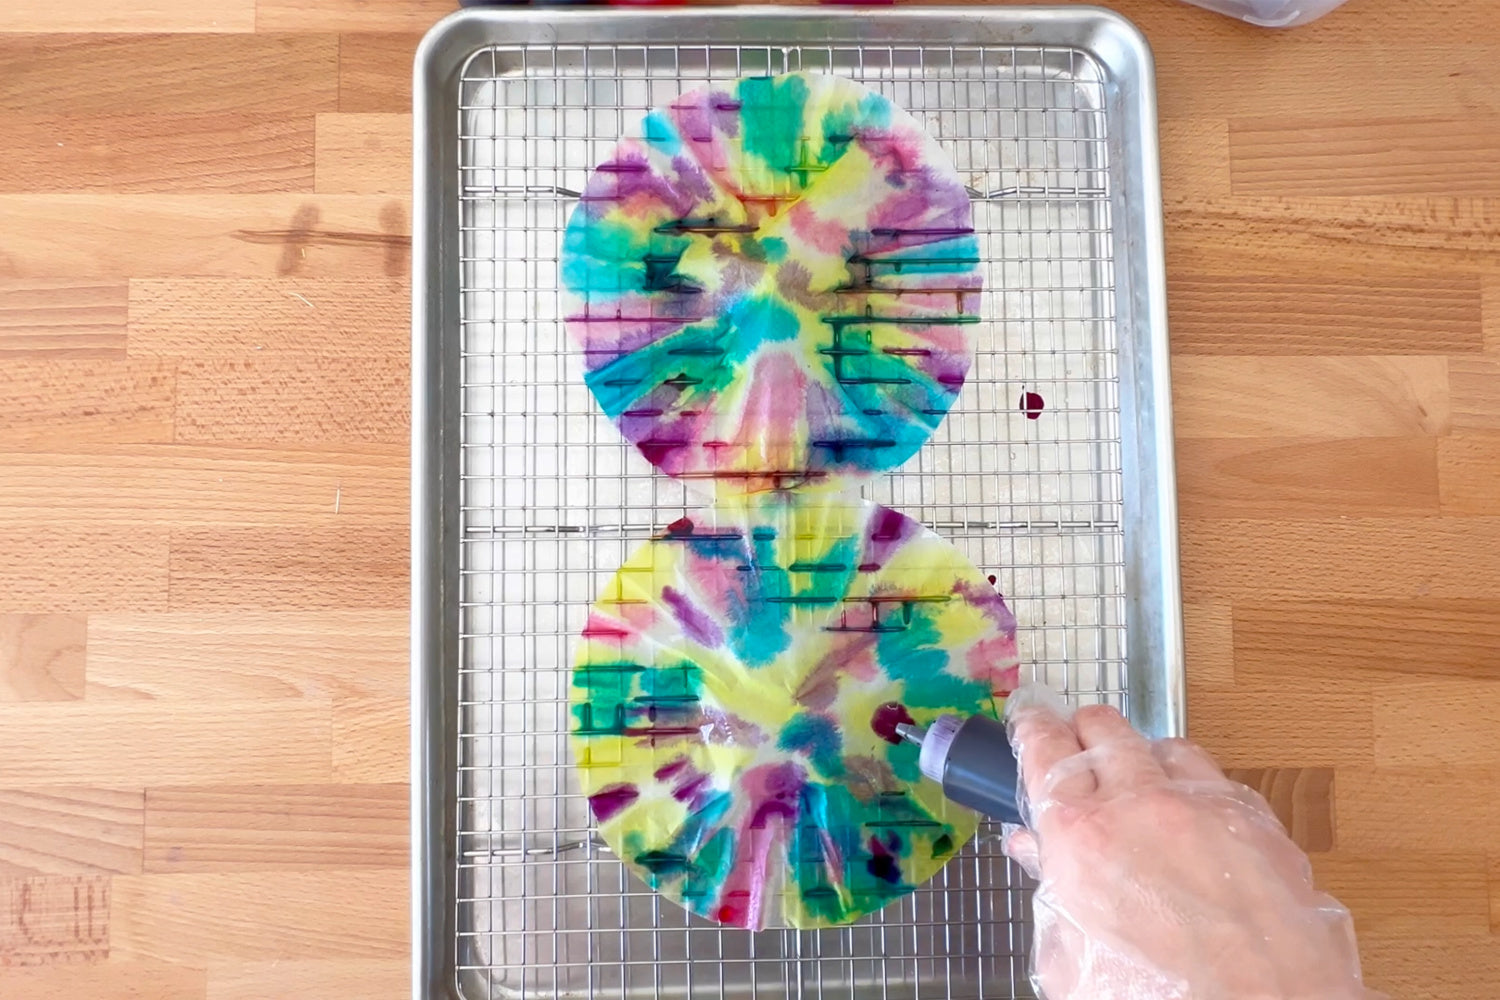
Put on a pair of protective gloves and apply dye to the paper butterfly wings. Apply a small amount of dye at a time, allowing the color to soak into the paper. Remember to apply similar dye colors near each other, or the colors might get muddy. Once you’re satisfied with the design, allow the dyed paper coffee filters to dry completely.
Step 3 Accordion fold the tie-dye paper butterfly wings

Once the wings have dried completely, accordion fold each paper coffee filter horizontally.
Step 4 Assemble the tie-dye paper butterfly
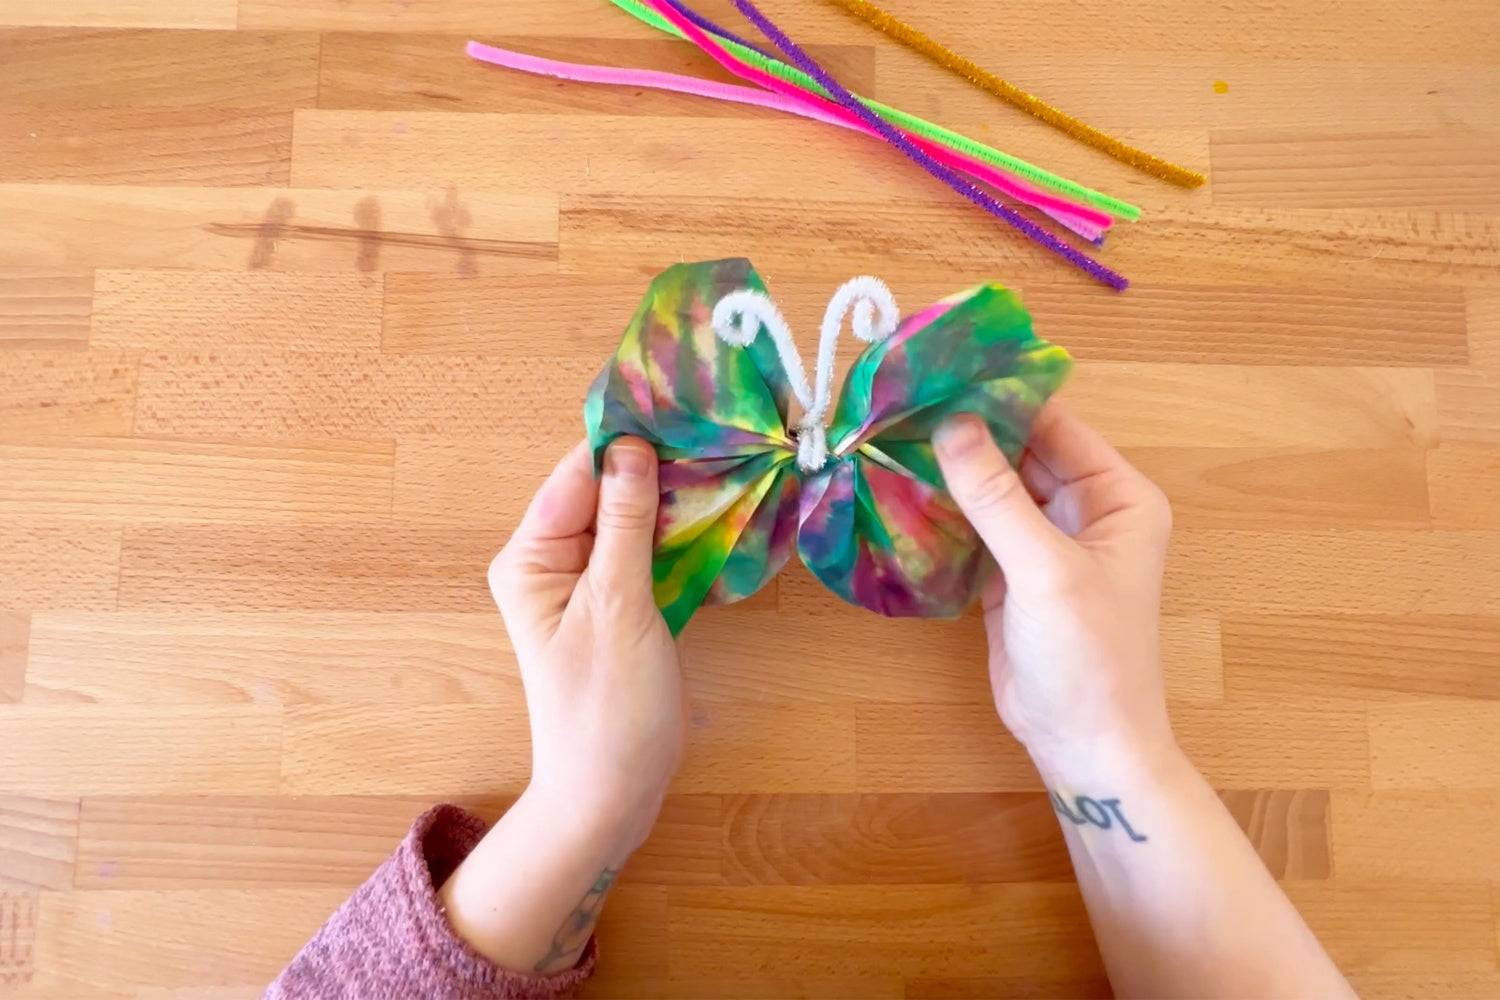
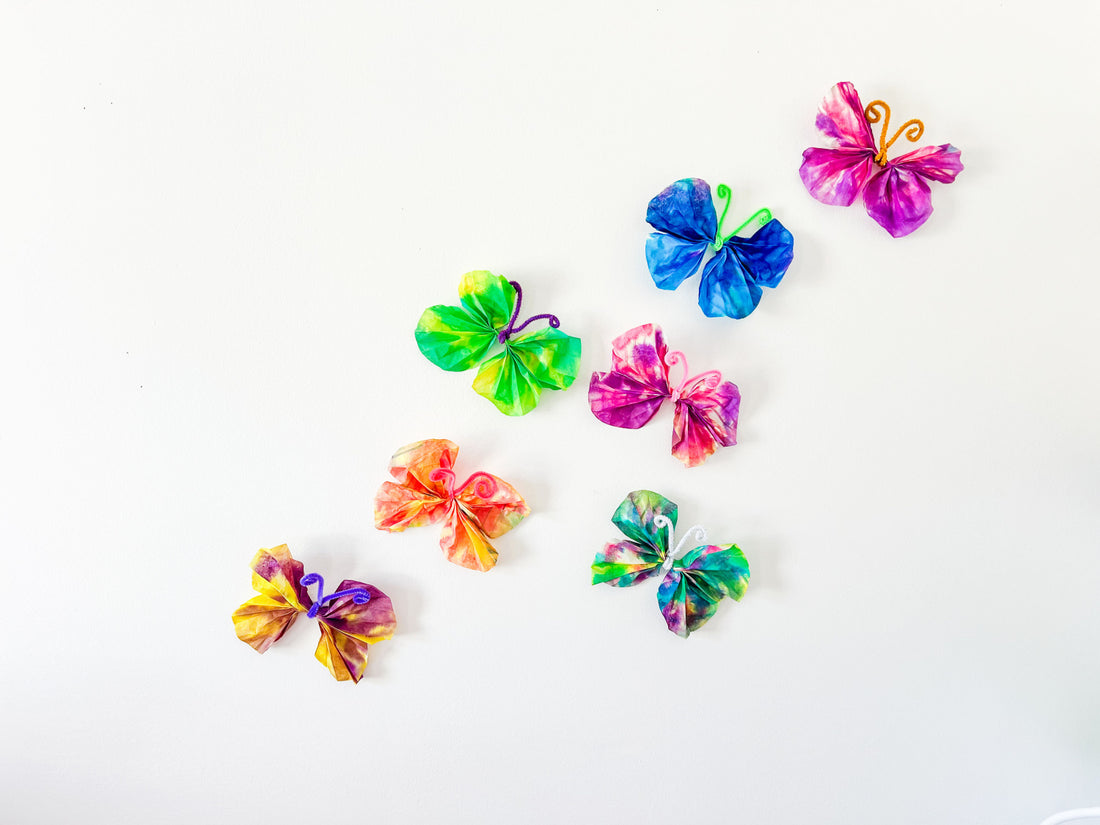
It’s time to assemble this whimsical paper craft for kids! Stack the two folded coffee filters, then wrap them together with a chenille stem. Cut the chenille stem to your desired length and curl the ends to create antennae for your butterfly. Spread out the wings and admire your colorful tie-dye paper butterfly!
Step 5 Repeat!

Repeat this process to create as many paper butterflies as you’d like. Experiment with different color combinations to create a kaleidoscope of vibrant butterflies!
What other paper crafts for kids will you create with Tulip? Show us your tie-dye paper butterflies and tag us on social media @TulipColorCrafts!
Check out these links and get inspired for your next DIY!