DIY Colorful Reverse Tie Dye Sweatshirt

×

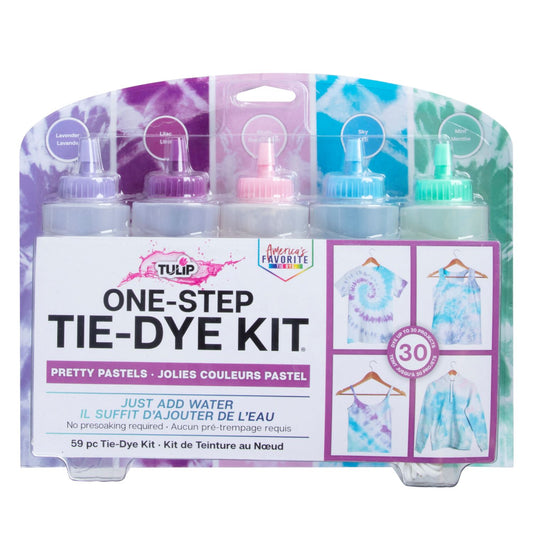
Tulip Carousel 5-Color Tie-Dye Kit
The Tulip One-Step Carousel Tie-Dye Kit is full of colorful fun! Stocked with 5 bottles of bold One-Step Dye, supplies and an inspiration guide, this kit is ready for your creativity. Who knew tie dyeing could be this easy? Dyes up to 30 projects....
- $16.49
$21.99- $16.49
- Unit price
- per
Tie dye isn’t just for fashionable summer fun; we’re all about it for fall too! Mikyla Creates will inspire you to combine Tulip Reverse Tie Dye with your favorite One-Step Tie-Dye Kit so you’re ready to cozy up in color when cooler weather arrives.
What you need:
- Tulip Reverse Tie-Dye Kit
- Tulip One-Step Tie-Dye Kit of choice
- Sweatshirt
- Plastic table cover
- Sealable plastic bag

Before getting started on your reverse tie dye, prewash and dry your sweatshirt without fabric softener. You’ll want to do this especially if the sweatshirt is new, so the chemical called “sizing” washes away. (It can prevent the Color Changer from absorbing into the fabric.)

Lay out your dry sweatshirt on a covered work surface and start scrunching the fabric together. Use rubber bands to help tightly crumple the fabric and hold it in place.

Flip the sweatshirt over and repeat on the back side with additional rubber bands. This will give you lots of cool crumple patterns in the fabric.

Follow instructions for activating the Color Changer with water.

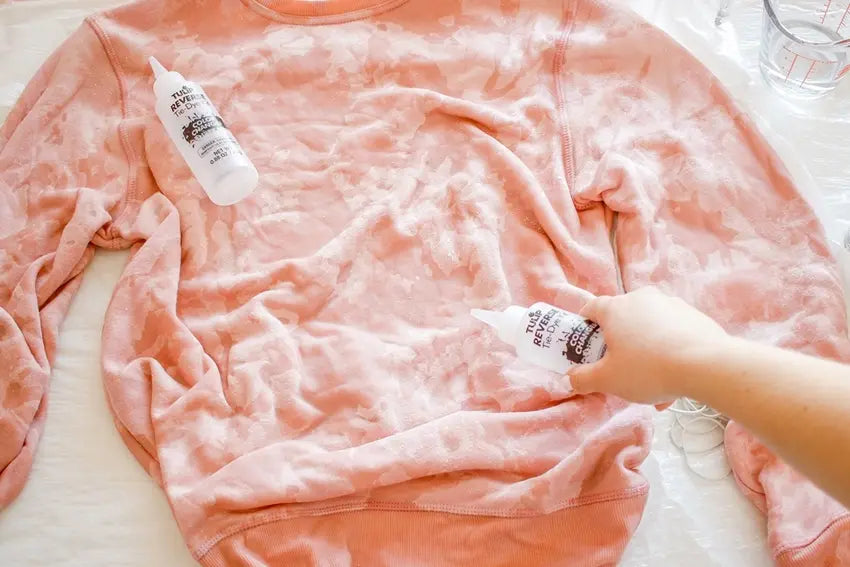
Apply Color Changer onto the scrunched sweatshirt, working the tip of the bottle into the folds. Repeat on the backside. Note: If you’re going to be touching the fabric as you work with the Color Changer, make sure to wear the protective gloves that come in your kit.

Allow the Color Changer to process on your project until the desired amount of color is removed. Check it regularly as the Color Changer processes. Then, wearing gloves, remove the rubber bands and thoroughly rinse your sweatshirt.
Optional: Lay the damp sweatshirt out flat on your work surface and apply additional Color Changer for added reverse tie-dye effects! If you want to skip this step, wash your sweatshirt according to instructions after removing the rubber bands and rinsing.

Rinse and wash the sweatshirt after your desired amount of color removal, then lay the damp sweatshirt out on your covered work surface for adding tie dye.

For added crumple effects, scrunch the sweatshirt again, then mix and apply your favorite dye colors! Place in a sealable plastic bag and allow the dye to process for the time recommended in your kit. After the dye processes, rinse, wash and dry according to instructions.

And now you’re ready to cozy up in colorful reverse tie dye when cooler weather hits! How will you be using Tulip Reverse Tie Dye this fall and winter? Tag us on social @tulipcolorcrafts and share your projects with us!