


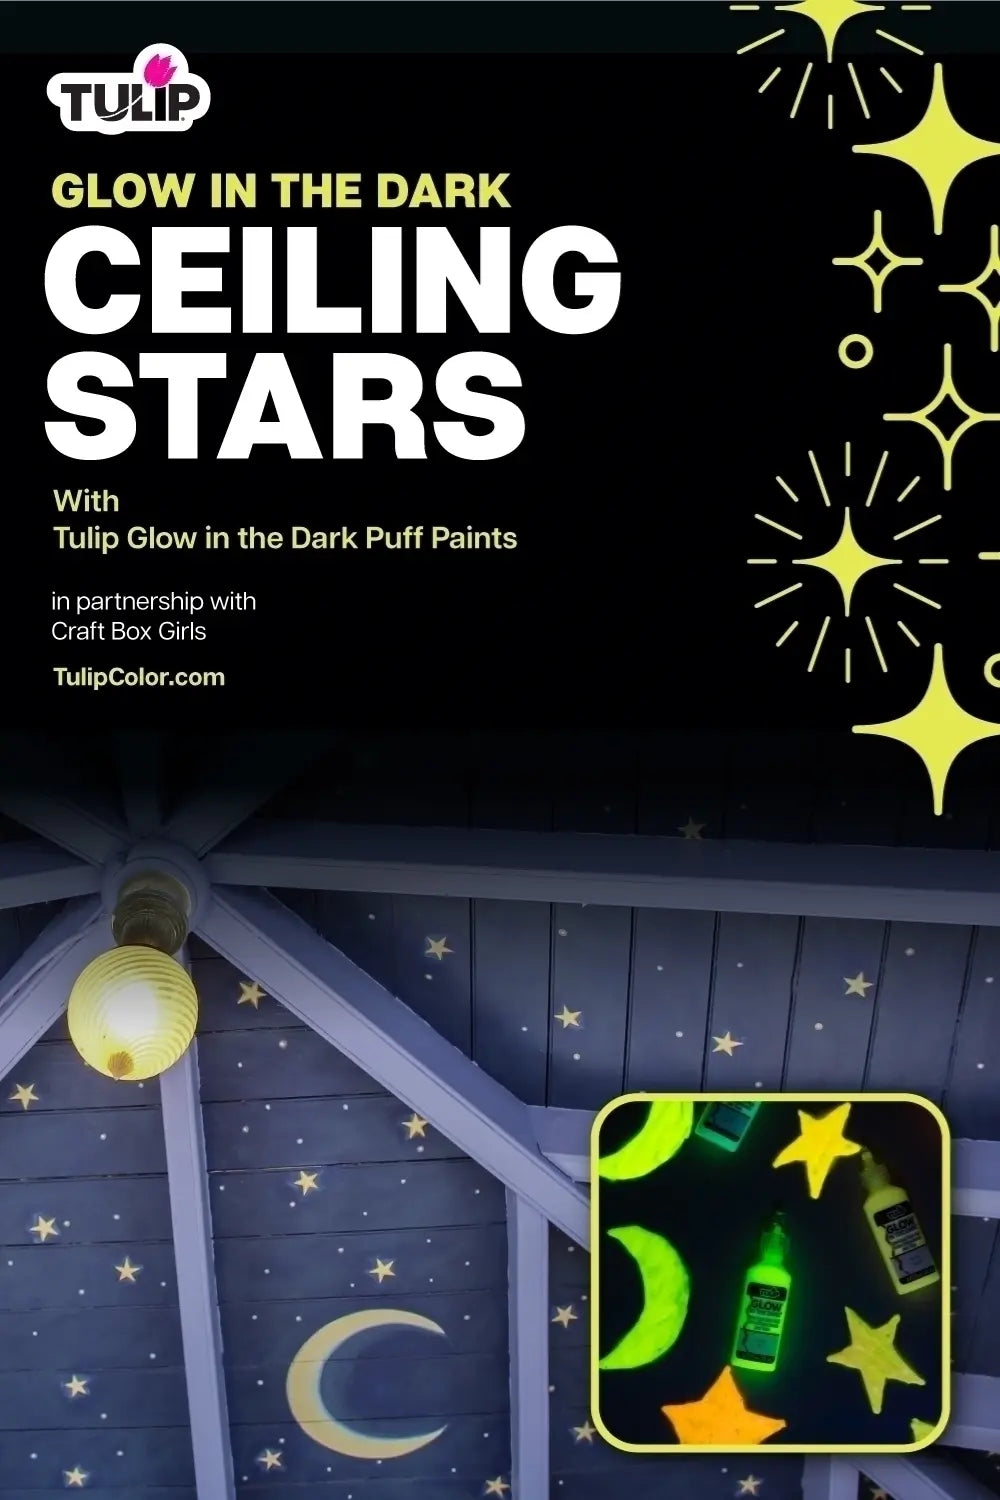
Glow in the Dark Ceiling Stars with Puff Paint
Plastic glowing stars scattered across the ceiling were a must-have for every 90’s kid; now you can recreate the nostalgia with this Puff Paint DIY! This tutorial from Craft Box Girls will show you how to create your own glow in the dark ceiling stars using Tulip Glow in the dark Puff Paint. It’s easy to paint your own glowing star decals with Puff Paint— stick them onto ceilings, walls, windows, and more!
What you need:
Tulip Glow in the Dark Puff Paint
Wax paper
Paper
Marker
Stencils (optional)
Scissors (optional)

Step 1 Gather materials
Gather the materials needed to create your glow in the dark ceiling stars! If you want to create uniform stars, cut a stencil from paper.

Step 2 Trace stars onto paper
Use a marker to trace the stencil onto paper or freehand your celestial shapes. Craft Box Girls drew a variety of stars and moons, but you can also draw planets and other out-of-this-world designs!

Step 3 Trace stars with Puff Paint
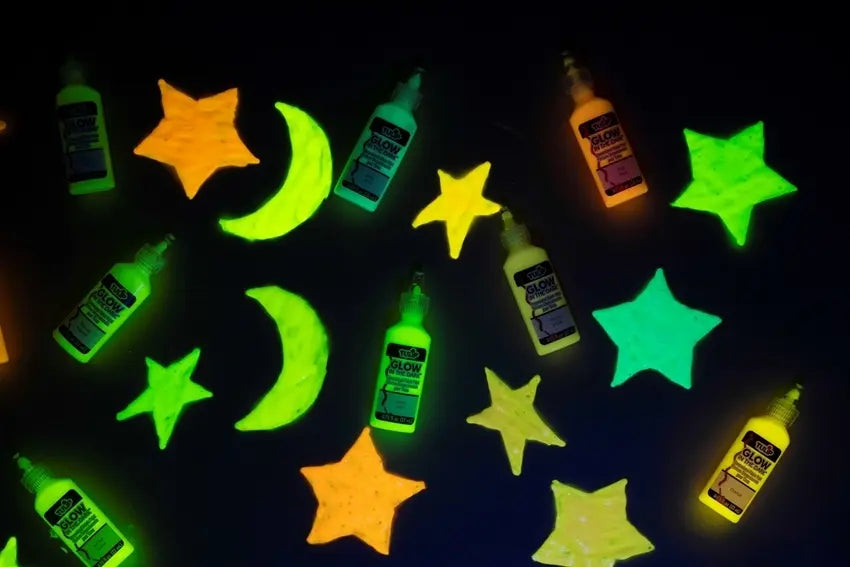
Place a sheet of wax paper over the shapes, then trace and fill the designs with Glow in the Dark Puff Paint! Try using multiple colors for each shape or create fun textured patterns to customize your glow in the dark ceiling stars.

Step 4 Allow Puff Paint to dry
Allow your glow in the dark ceiling stars to dry completely for at least 4 hours, or longer for thicker applications of paint. Carefully peel the decals off the wax paper and stick them onto ceilings, walls, windows, or anywhere that needs a pop of glowing color!