Skip to content

Matching Butterfly Garden Aprons with Fabric Spray Paint

TULIP Matching Butterfly Aprons with ColorShot

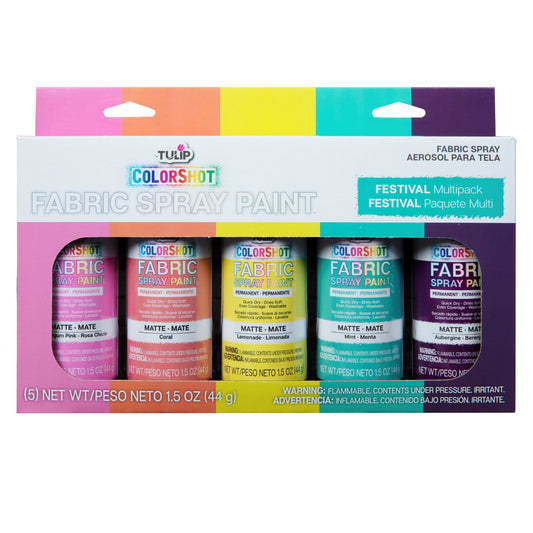
If you’re like us, you’ll find any excuse to go outside now that the weather’s getting warmer. This matching butterfly garden apron tutorial from Oh Yay Studio is perfect for welcoming the spring season in style! All you’ll need are some plain aprons and a few cans of Tulip ColorShot Instant Fabric Spray! Get ready to breathe in that fresh spring air, soak up the sun, and get your hands dirty!

What you need:

Tulip ColorShot Instant Fabric Spray

Tulip Puff Paint or Fabric Markers (optional)

Butterfly and Fern stencils

New or used set of aprons

Acetate sheets, paper or cardboard

Craft knife or cutting machine

Permanent marker

Iron

Painter’s tape (optional)

Cut out stencils for your garden apron.
Cut out the stencils that you will use on your butterfly garden aprons.  To use the PDF templates, simply print the templates on your home printer. Then lay the printed paper template under a sheet of acetate and trace with a permanent marker. Carefully cut out the templates on your plastic with a craft knife.
Spray the first part of your stencil
Iron your garden aprons and prep your surface. Be sure that you are working in a well-ventilated area when using the Fabric Spray. Use extra cardboard to protect your apron from overspray. Begin using your stencils by laying down your background template (or simple outline) first. Shake the can of Fabric Spray well for at least 1 minute. Hold can 6-8" from fabric and spray with smooth, even strokes, and shake often during use. Allow to dry for about 5 minutes in between coats.
Spray the second part of the stencil
Next, spray the 2nd template (the details) over the top of the background. Don’t be afraid to experiment with different color combinations! Continue creating butterflies and ferns until you’re happy with the overall composition of your garden apron.
Spray paint foliage

Once you’re happy with how your customized butterfly garden apron looks, allow it to dry completely for at least 30 minutes. While it’s drying, you can repeat steps 2 and 3 on a second apron. Now you’re ready to garden in style with Tulip!

Will you be making your own customized garden apron to get ready for spring? Show us your creations and tag us on social @TulipColorCrafts!

Prev Post
Next Post

Get The Product

Thanks for subscribing!

This email has been registered!

Choose Options

this is just a warning
Login
Shopping Cart
0 items