


How To Create Fabric Marker Designs with Stencils
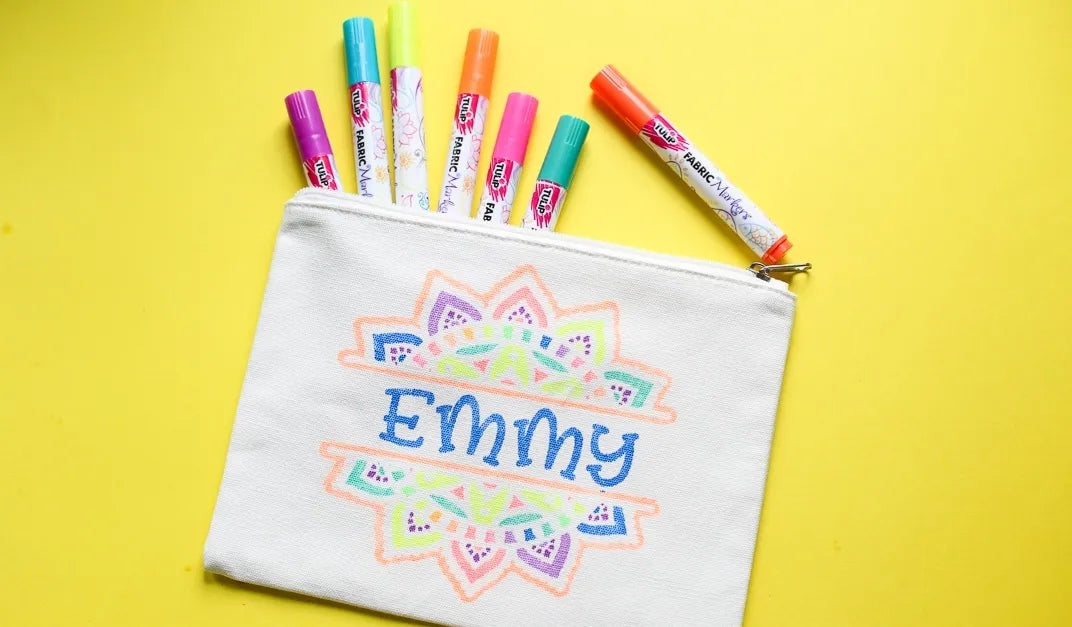
Personalizing your fabric just got a little easier! Use a stencil to help guide you while adding colorful designs using Fabric Markers. It's easy and you're almost guaranteed perfection every time!

Step 1:
If using a sticky stencil, peel off backing and press into place on fabric. Or, use masking or painter's tape to attach your stencil in desired placement on fabric. Tape helps secure stencil and prevent it from slipping while you are coloring in the open areas using the fabric markers.

Step 2:
Use Fabric Markers to begin coloring in the open areas of stencil. Get creative and try new color combinations! There's no wrong way to use color in stencils. It's totally up to you!

Step 3:
Carefully peel back stencil to reveal your finished design. Touch up any missed areas or add extra details where desired.

Step 4:
Take your personalized piece of art anywhere you want and take pride you made it yourself!