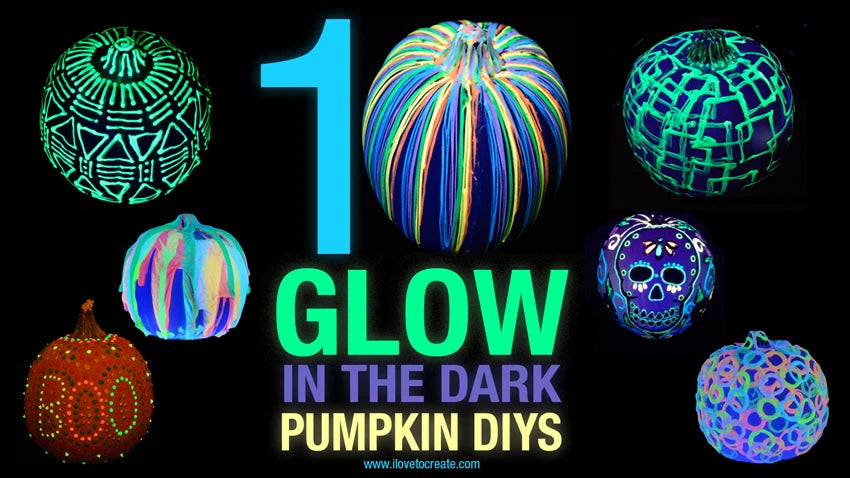
10 Glow in the Dark Pumpkin DIYs
- $14.99
$14.99- $14.99
- Unit price
- per
Want to create the coolest pumpkin on the block this year? Break out the Tulip Dimensional Paint a.k.a. Puffy Paint and create a glowing pumpkin that will get lots of oohs and ahhs from the neighborhood kids. Here's just a few fun ideas that will help spark your creativity and get you into the Halloween spirit!

What you need:
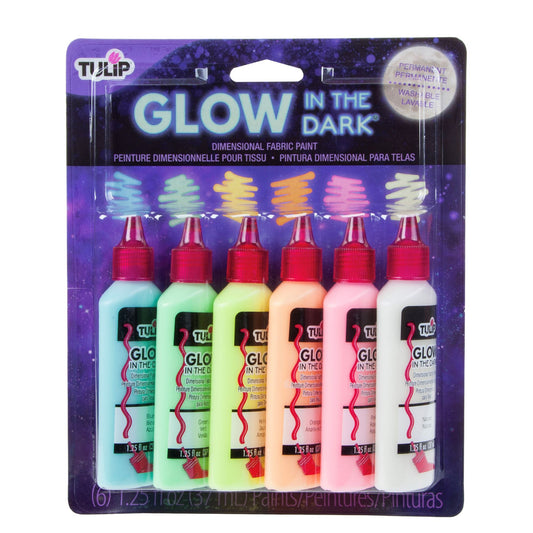
The best paint for glowing pumpkins is Tulip Glow-in-the-Dark Dimensional Fabric Paint! You can buy this glow paint in a 6-pack (find it on our site here). This paint comes in 6 diffferent colors and is activated by UV light. Blacklights work great for activating the glow and making it glow super bright.

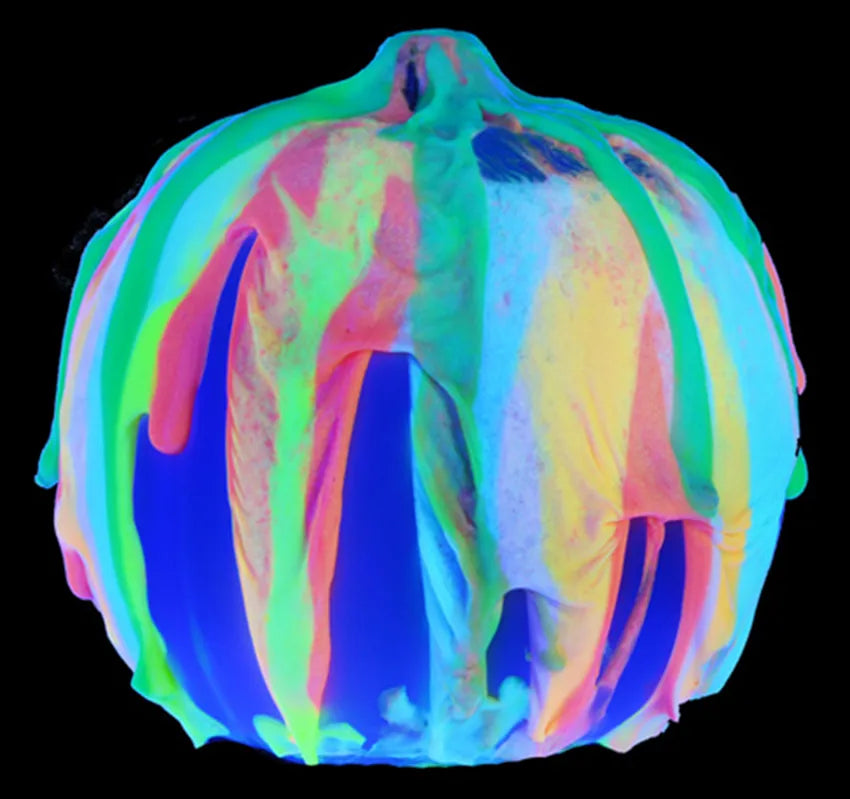
For this glowing pumpkin creation from Jade Harrington on the iLoveToCreate blog, you simply squeeze out the paint in a clockwise twist of the hand all around the pumpkin. You can play around with the thickness and colors of the paint too!

Mix it up with geometric designs on your pumpkin. Cover your pumpkin in circles, squares, and triangles. The all--over coverage makes this pumpkin a winner! See more here.

Create this simple Boo pumpkin with dots all over your pumpkin! The dot design is so easy to make! You could also do initials or just dots without the words. Another option is to do giant dots! Find this DIY tutorial at Club Chica Circle.
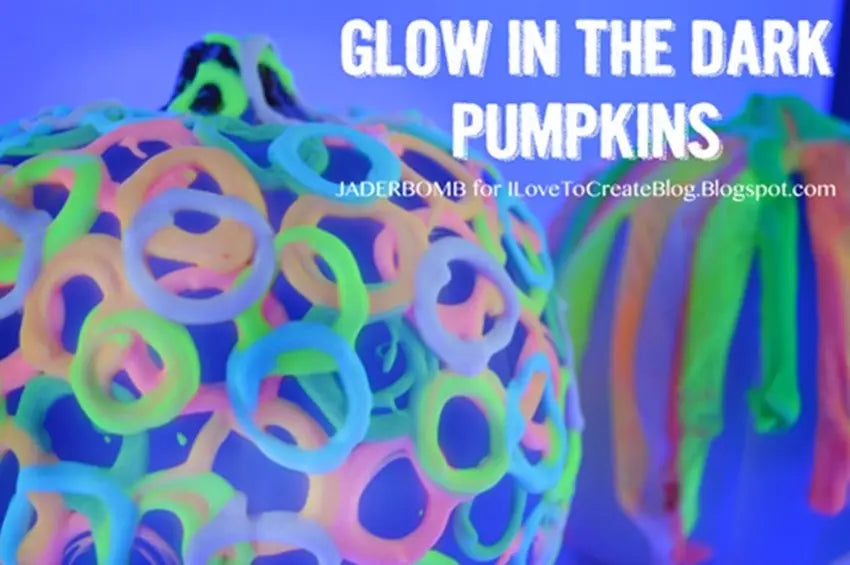
This pumpkin was created layer rings of paint all over! See Jade's tutorial for it here.

I created this pumpkin project on my blog a couple years ago. I simply used the "natural" glow dimensional paint and went wild with geometric designs allover. Loved how brightly it glows!

We love how these pumpkins from Natty Danielle were created. Very abstract and fun on the two on left and right. And the skull pumpkin is a funky idea for your Day of the Dead festivities!

This pumpkin from Snow Dogs Vlogs will make you go EEEK! when the lights are turned off. Love how the colors twist up the stem too!

This monogram pumpkin is so easy to make! All you need to do is place a sticker down on the pumpkin and dot around it with the glow paint! You can make a personalized one for every family member or spell out a phrase with several pumpkins. See the process in action in this video.

Thiis is the ultimate glow pumpkin by Jaderbomb and so easy to make! You simply squeeze the paint along the indents of the pumpkin in stripes! See the full tutorial here.