


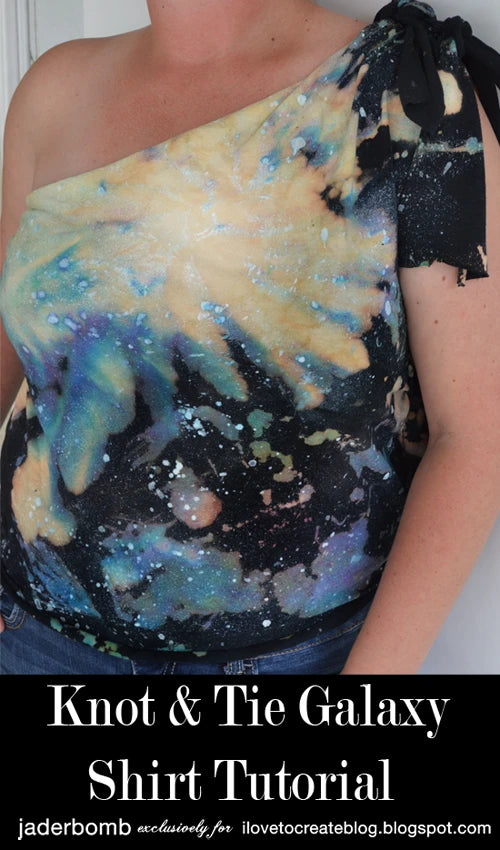
Knot And Tie Galaxy Shirt Tutorial
Well howdy hoo little galaxy peeps! I am so excited to share today's post with you one because I love T-Shirts and two because I love tie dye.
Fine. There is a third one, I LOVE THE GALAXY (insert a LOUD yell here). It seems everywhere I go lately there are galaxy shoes, shirts, back packs, tights and undies! Does it take a special person to wear the UNIVERSE on them, hot diggity dog, NO!
Today I will show you how to dye, cut and tie a shirt so let's get started!

For this project you will need:
*100% cotton black tee shirt, 1-2 sizes larger than you normally wear
*Bleach
*Trash Bag
*Scissors
*Brush
*Soft Fabric Paint (optional)
*Permanent Fabric Tape (optional)
FYI: We are working with a BLACK shirt so when you bleach your shirt you might not get PURE white in some spots. It will start off brown then get to a lighter yellowish color. I let my bleach sit for a long time to get some really bright spots.
P.S. In the picture below I have fabric paint and fabric tape that I did NOT use in this tutorial. I am sharing it because you can use it to add to the galaxy. I will let you know in the post when!
P.S. In the picture below I have fabric paint and fabric tape that I did NOT use in this tutorial. I am sharing it because you can use it to add to the galaxy. I will let you know in the post when!

Lay your shirt on top of your trash bag.

Twist your shirt in certain spots then add your rubber bands to them. These rubber bands come in the packet of dye!

I am using bleach (no water) and starting by pouring a little bit in the center of each knot.
P.S. Go slow! Make sure to put on the gloves that come in the packet of tie dye. This bleach will stain anything it lands on so pop on a apron if you need.
P.S. Go slow! Make sure to put on the gloves that come in the packet of tie dye. This bleach will stain anything it lands on so pop on a apron if you need.

This is the first shade it will turn. I am kinda digging this brownish orange color!

Grab a brush and add a little bleach to it. Carefully flick the bristles and you will see the bleach land on the shirt. Give it about 10 seconds then you will start seeing the color change. It's so relaxing!

Do you see how the center is lighter than some other spots? This is because I kept adding a little bleach with my brush over and over.

When you are happy with colors take off the rubber bands and this is what your shirt will look like.

Grab your spray dye and start spraying onto your shirt. We are spraying mainly on the bleached spots! The bottles have a line on them letting you know how much water to add, pretty simple huh. Make sure to add warm water to the dye. Don't get scared to mix the colors with each other. Layering is KEY in this project! Incase you are wondering my shirt is still wet from the bleach at this point. If you want you can now add some of your colored fabric paint to the shirt. I like to flick it on and create a splatter.

Grab your white fabric spray and we will start creating the stars! I swear this is the best part. Warning: You will get mesmerized which could lead to spraying way too much white! (I swear that didn't happen to me)

How pretty! Time to let it sit for a few hours and dry. I like to let my shirt lay out and dry but you can put it in a plastic bag for about 5 hours! If you applied fabric paint to your shirt you might want to lay it out to dry instead of placing it in a bag. When it's dry run it under the water until it's clear then throw it in the washing machine without any soap!

Let's start making the shirt! Lay your shirt on a flat surface.

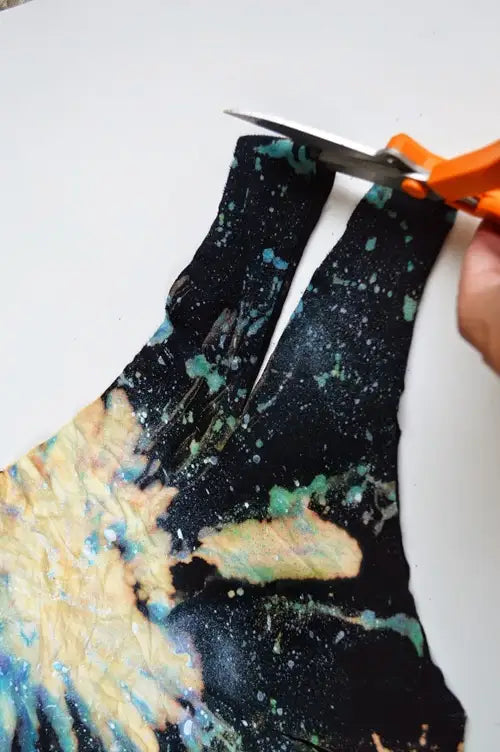
Cut your shirt from the bottom of one sleeve to the opposite side of shoulder sleeve (like below). Then whatever side your shoulder sleeve is still on, cut the sleeve off.

Cut slits on the side that has the shoulder sleeve still connected. These are going to be the ties on the side so you will have to cut the slits depending on how tight or loose you want your shirt. You will cut 4 slits. Mine are about 18 inches long but they will vary. I like my shirt fitted.

This is what your shirt should look like.

Now, on the side you will cut the shirt so it's not connected anymore along the seam. It will look like an open flap.

On the shoulder piece find the center and cut a slit down about 13 inches down.

Cut the top part of the shoulder on the seam so we have open flaps.
Now it's time to put the shirt and and tie knots where all your flaps are. It's so simple and I love that I can dress up a boring shirt in 10 minutes tops! YAY!

I am so pleased with the way it came out. It's fun, vibrant and UNIQUE! The best part is you will never find a shirt like yours anywhere!
Huge glittery hugs, JADERBOMB
Head over to our TIE DYE YOUR SUMMER site for even more inspiration, how-to's, and fun videos to get you mega-inspired for some DIY summer fun!