


Pastel Dyed DIY Wall Hanging

- $29.99
$29.99- $29.99
- Unit price
- per
- $14.99
$14.99- $14.99
- Unit price
- per
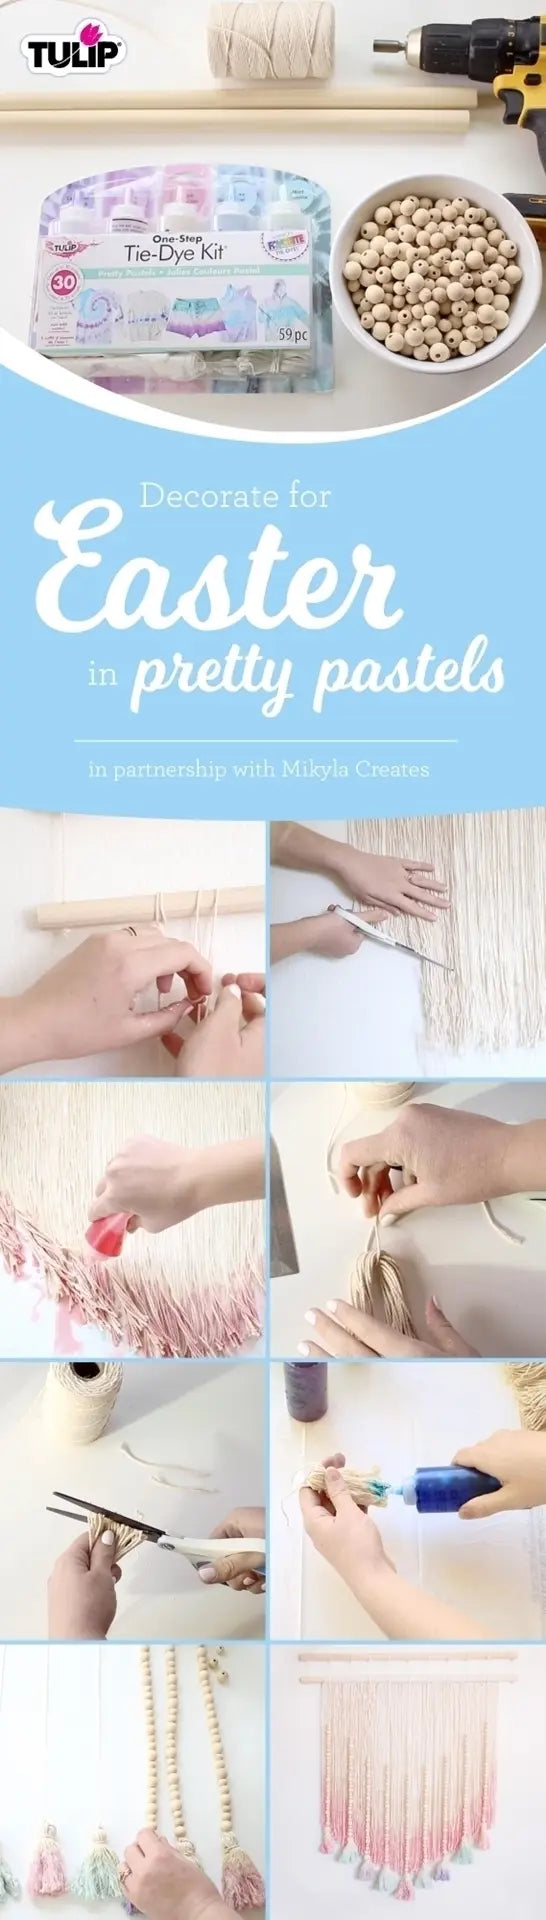
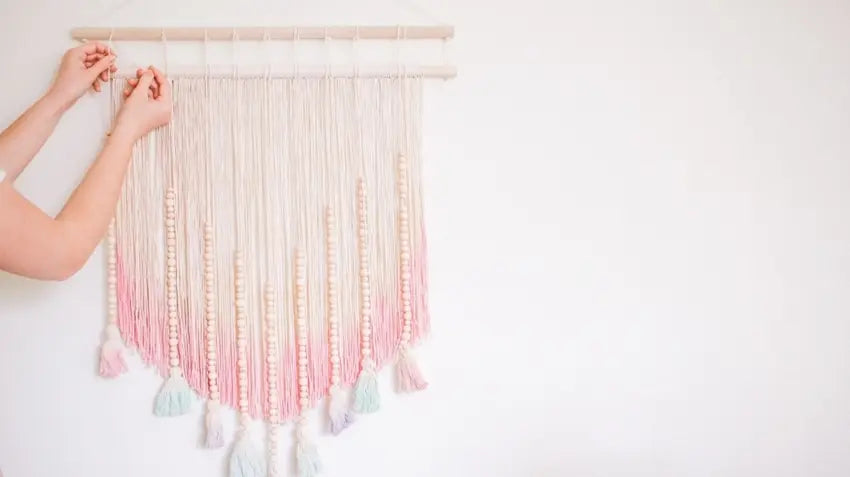
If you're looking to revamp your spaces with a more comforting touch this spring, you're definitely not alone. Soft textures and fabrics add a cozy vibe, and in shades of pastel, well that's just perfect for spring, wouldn't you say? We enlisted the help of Mikyla Creates to come up with pretty home decor you can DIY for Easter or spring in general, and we're swooning over this fun boho wall hanging she made using cotton twine and the Tulip Pretty Pastels One-Step Tie-Dye Kit. It's the perfect project to make while binging on your new fave Netflix series! Read on for the tutorial.
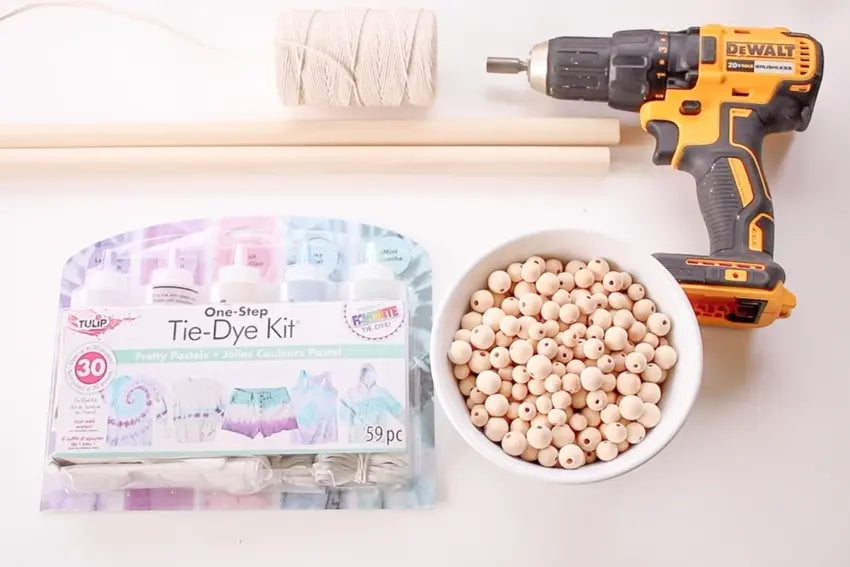
What you need:
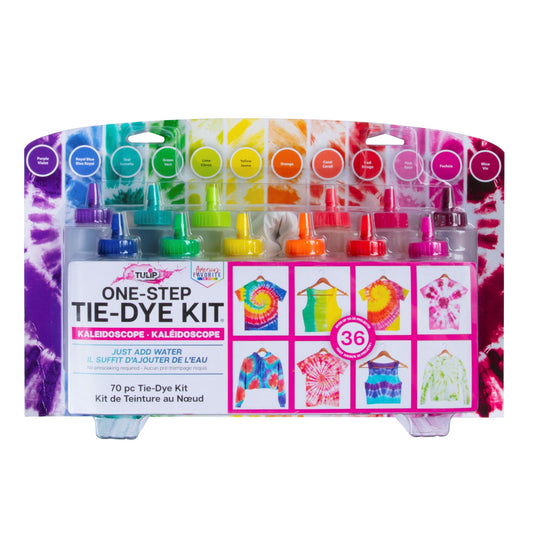
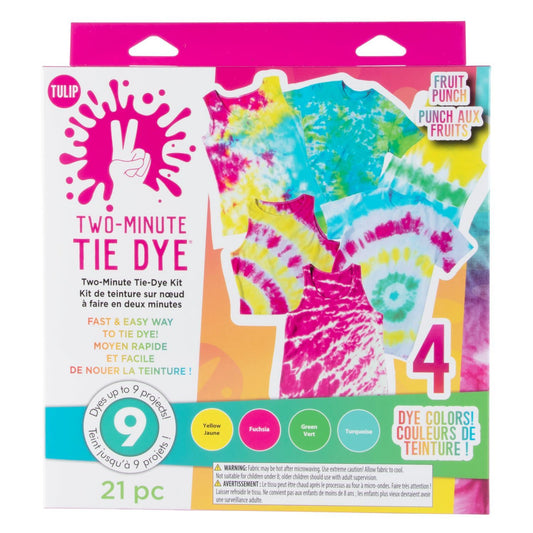
- Tulip One-Step Tie-Dye Kit of choice
- 2 Wooden dowels
- Drill
- Cotton twine
- Wooden beads
- Scissors
Ready to get started on your wall hanging? Don't be intimidated! It's easier than it looks. Follow along for Mikyla's tutorial.
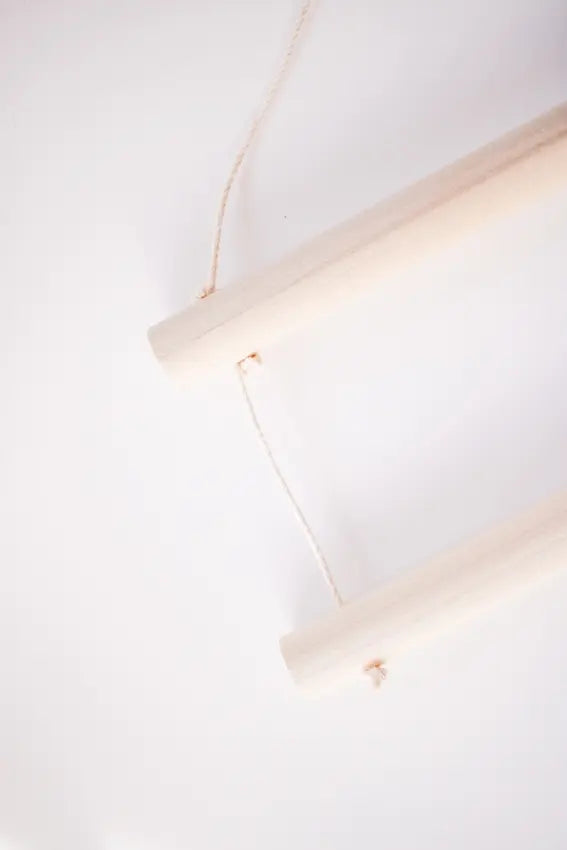
Drill a hole through each end of both wooden dowels. Thread your string through the holes with one dowel a few inches above the other and knot the string on each end to hold in place. Attach a string to the top that you can use to hang your wall hanging.
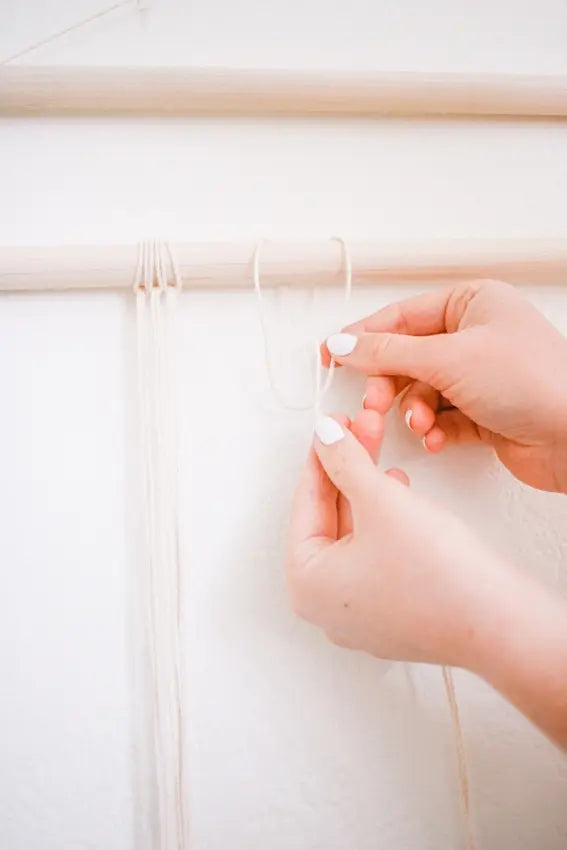
Cut a bunch of long strips of string (you won’t know how many you’ll need so just cut a bunch to get started). Length of string and number of strings will increase based on how long your dowels are. Fold your string in half lengthwise, put the looped end behind the bottom dowel, fold it over top of the dowel, bringing the bottom ends of the string through the loop you’ve created (see photo). Pull to tighten in place. Repeat this step all the way across your dowel (this is the time-consuming part).
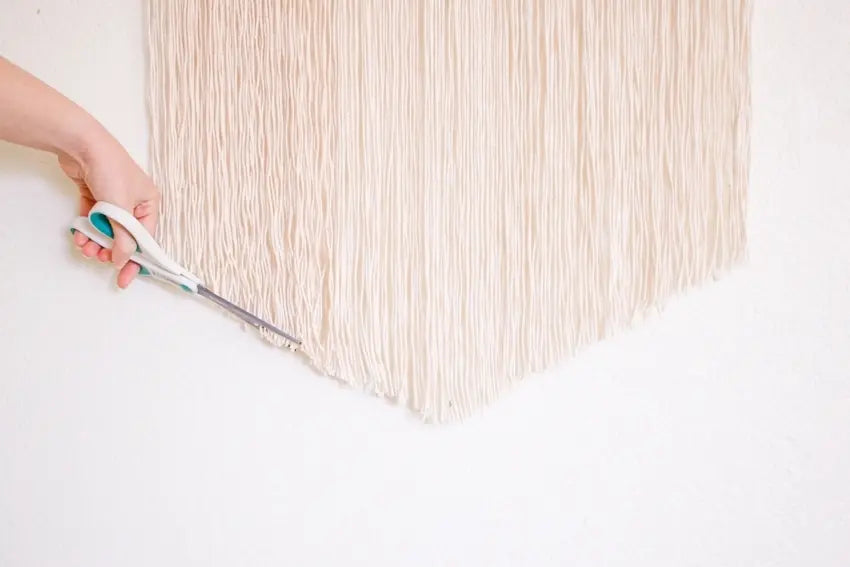
For this part you can measure and mark for precision, or you can just wing it! Cut your strands of string hanging from the dowel into a V shape, with the point of the V at the center as shown.
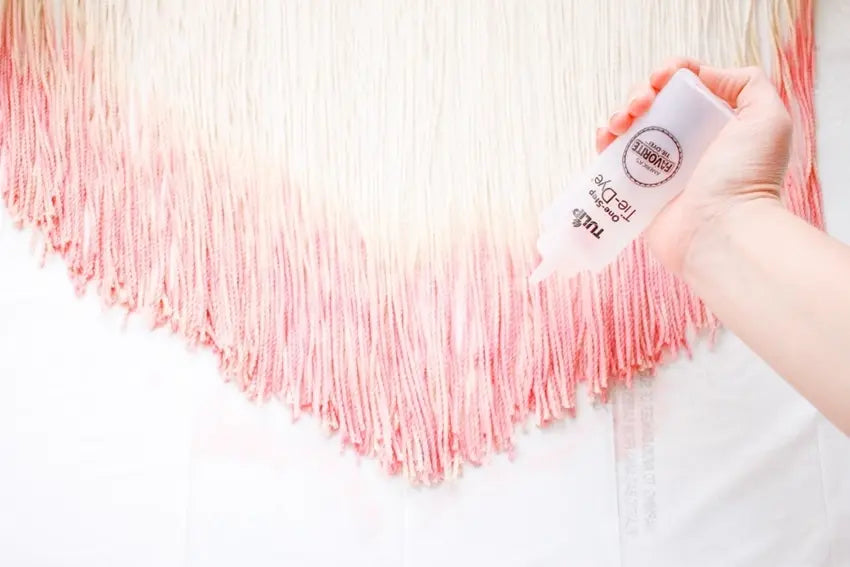
Lay your wall hanging down onto a plastic covered surface like a table cover or large trash bag. Spray the section of string that you want to dye with water. Mix the dye color you want to use according to instructions and squeeze onto the string. Let dry.
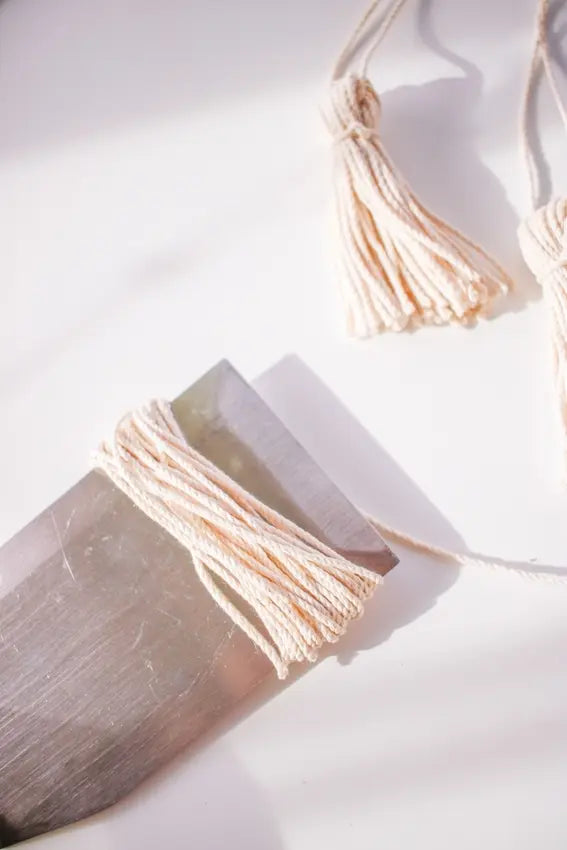
Wrap your string around a spatula or something else that is roughly the length that you’d like your tassels to be. Wrap string around your item about 30 times.
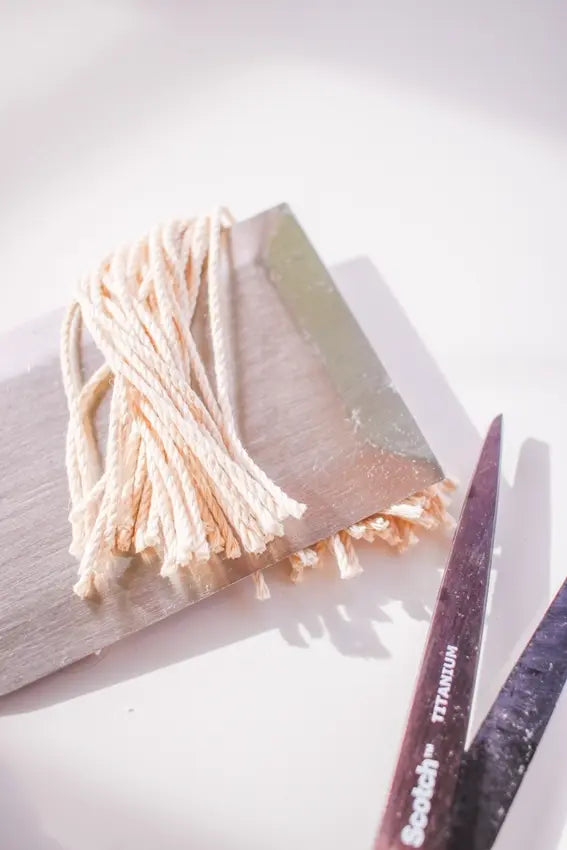
Cut the string on one end.

Tie a string around the top section of your strands of string, making a new loop at the top and put a string through the top loop.

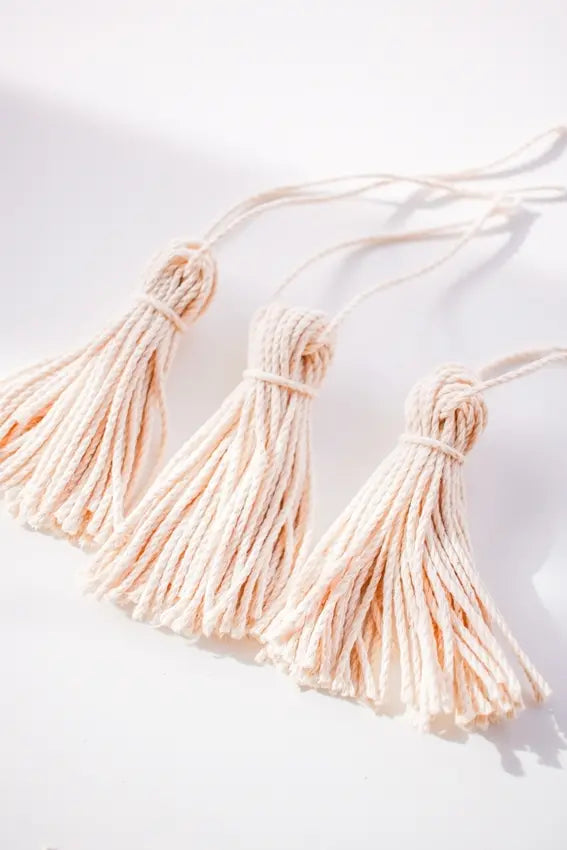
Repeat the process to create as many tassels as desired.
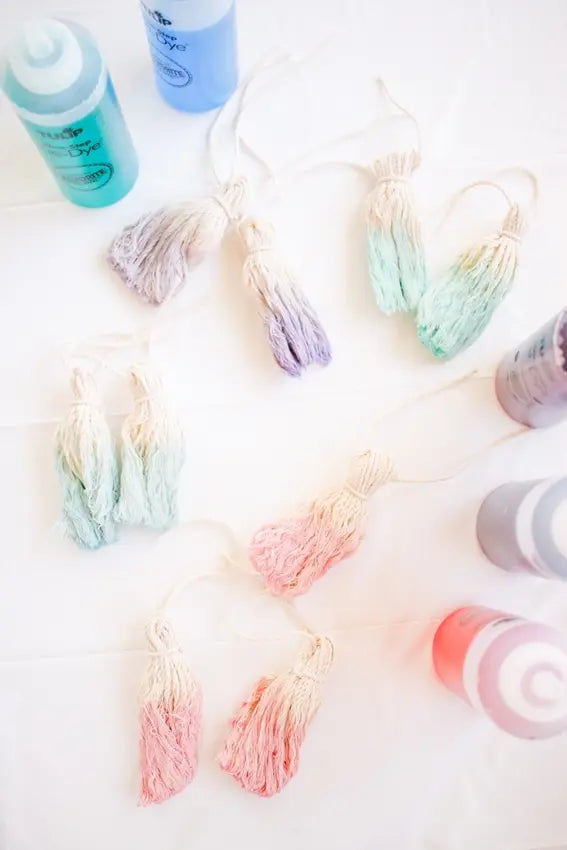
Dampen tassels and place on covered work surface. Mix dyes according to instructions and dye the bottom halves of the tassels different colors. Let dry.

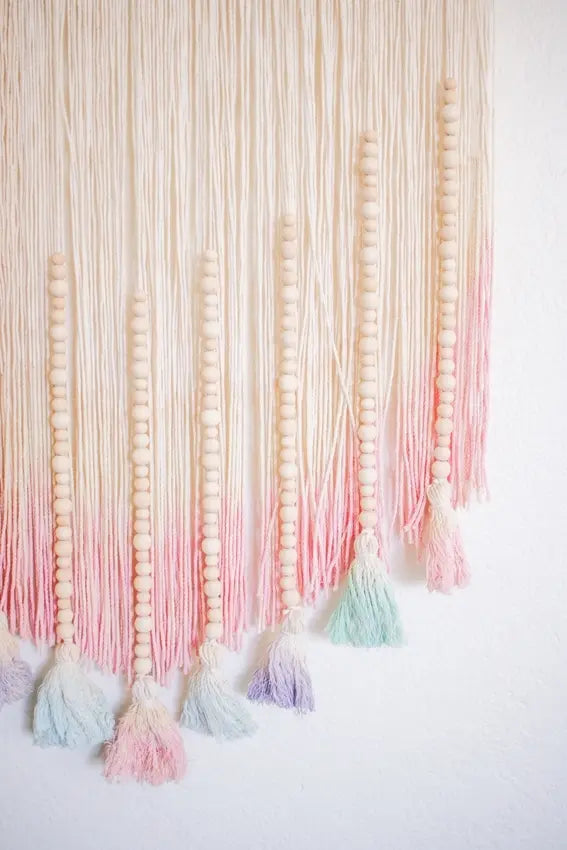
Tie a long string to the top of each of your tassels. Thread beads onto that string, adding the same number of beads to each tassel.
Hang your tassels onto the top dowel of your wall hanging, tying them so that they follow the V of the wall hanging.
So it takes a few steps but it doesn't look difficult, right? It turned out so cute!

Such a great afternoon project and a pretty way to decorate your space for Easter and spring!